Top Tips For Taking Better Family Photos With Your iPhone - June 2019
Being a photographer, you’d assume my camera would be glued to me 24/7.
Well, that’s not always the case! Sometimes it’s impractical, illegal, or I just don’t feel like lugging it around.
That age old saying, the best camera is the one you have with you, rings true for anyone. Nowadays, you don’t have to spend $10k on a super high tech camera to make a photograph that you’re happy with. They make billboards out of iPhone photos!! So truly, there is no excuse to not take a photo anymore.
Many of the foundational elements and principles that make a great photo are applicable and very easy to get right with your iPhone. Thanks for that, Apple.
Here are a few of my favorite tips when taking family photos with my iPhone!
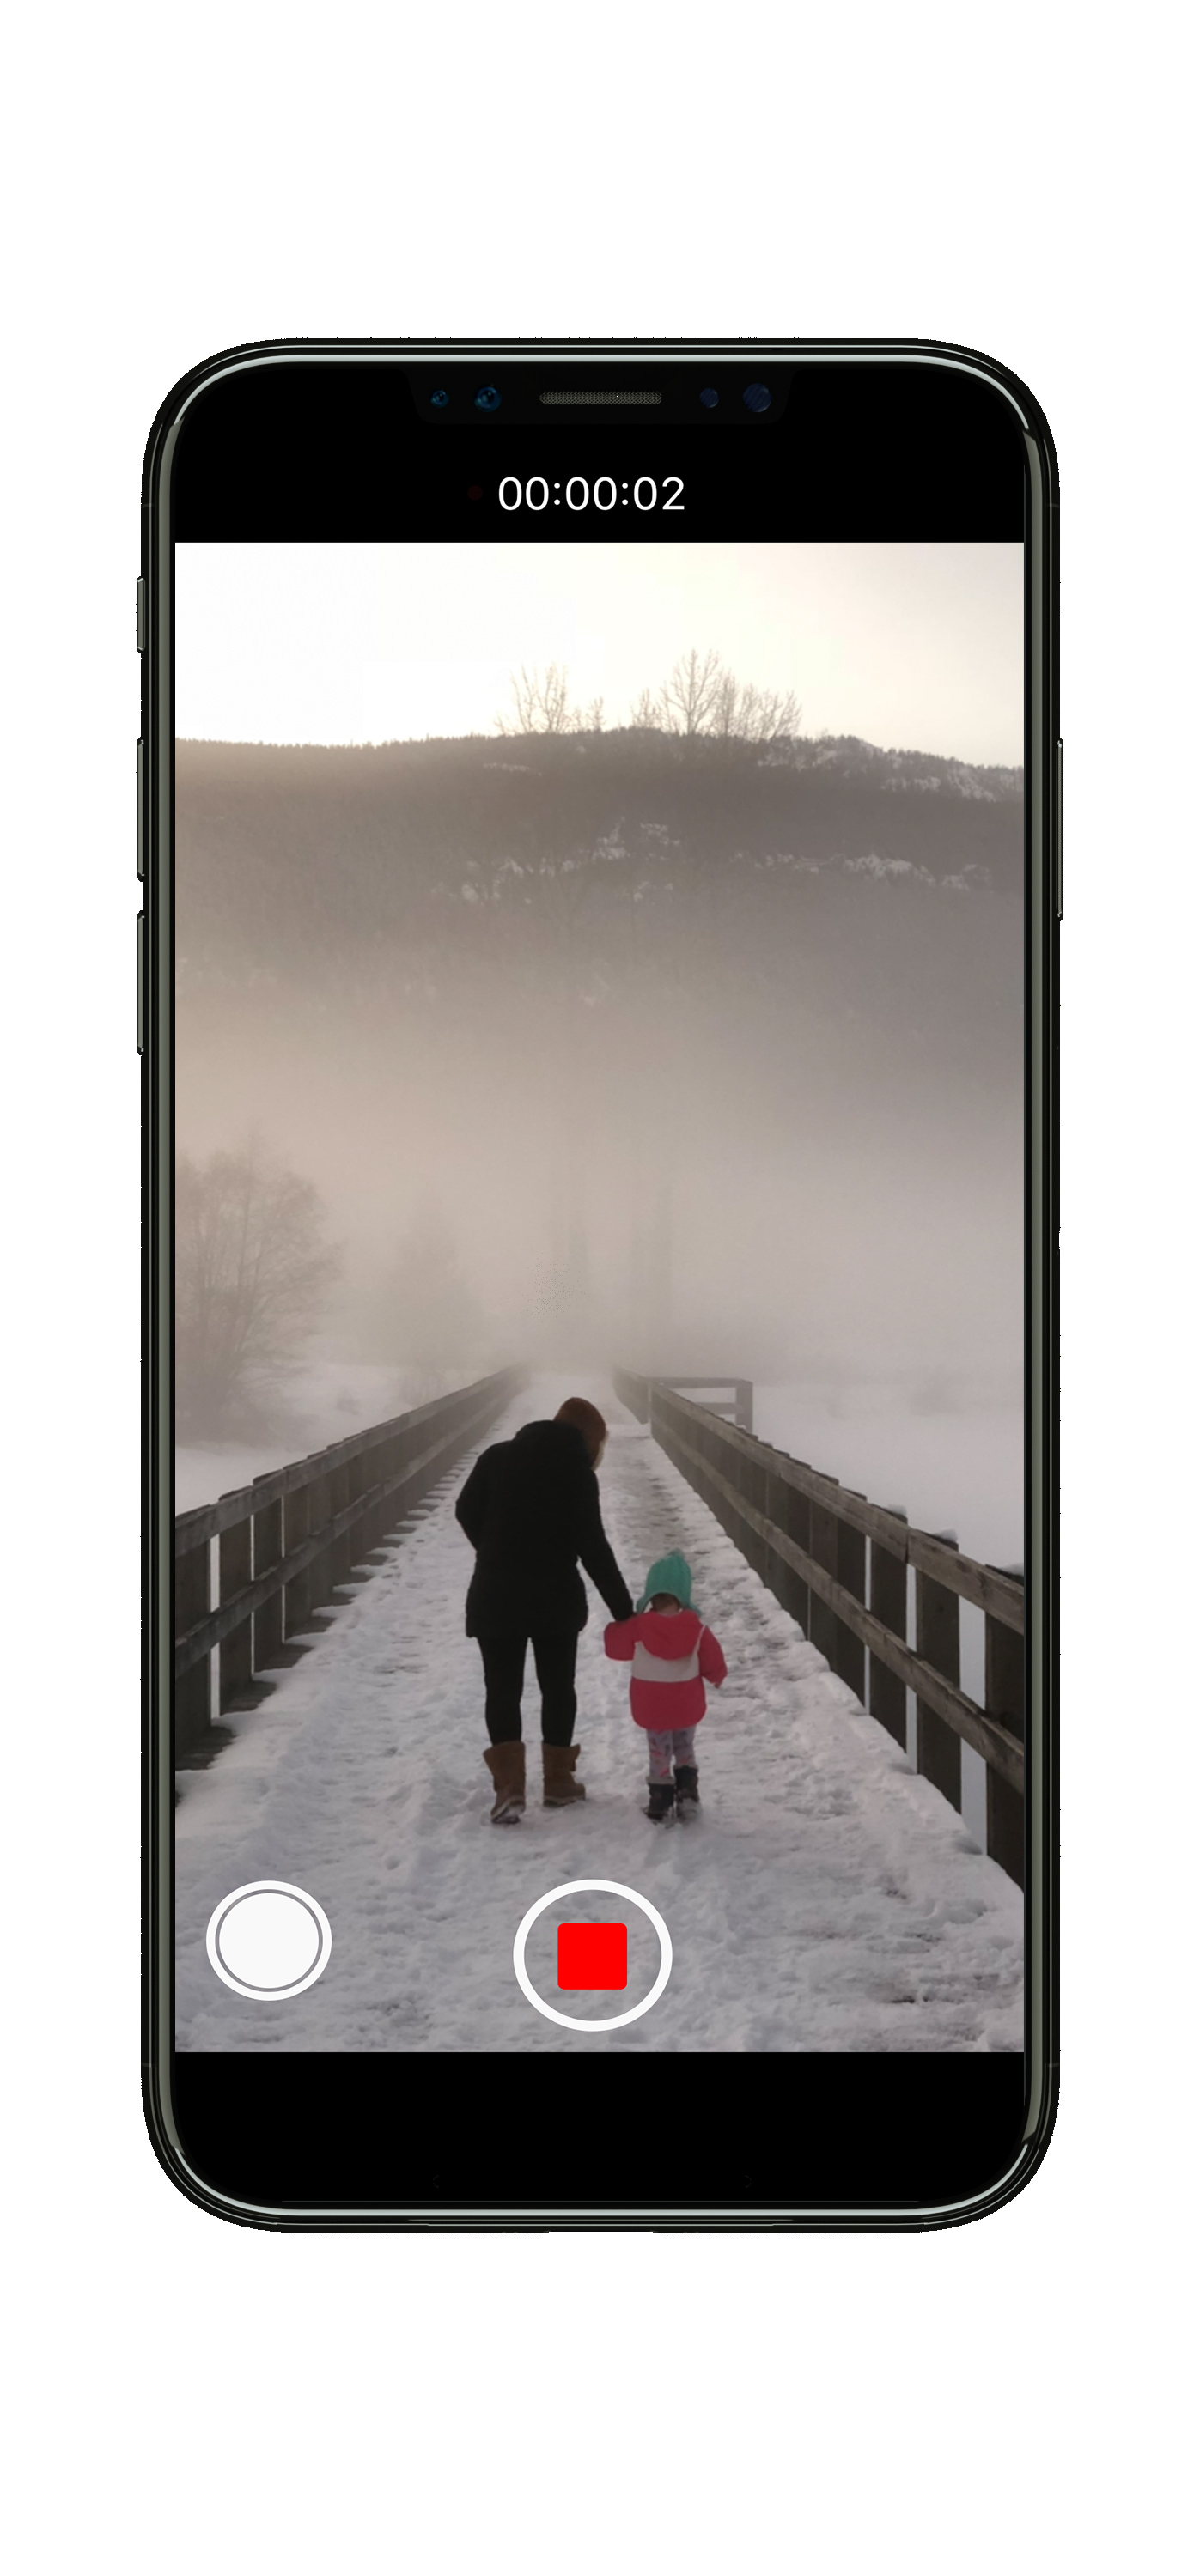
You don’t have to choose between photos and videos
Use the white button to the left while recording a video to take a photo
One of the coolest things about your iPhone is that it can do both of these things at once! There is no deciding which would work best - a dilemma I’m constantly faced with with my professional cameras. Start recording your video and when the moment is right, hit that white circle in the bottom corner to grab a still. When you’re finished filming, you’ll have the best of both worlds waiting for you in your camera roll.
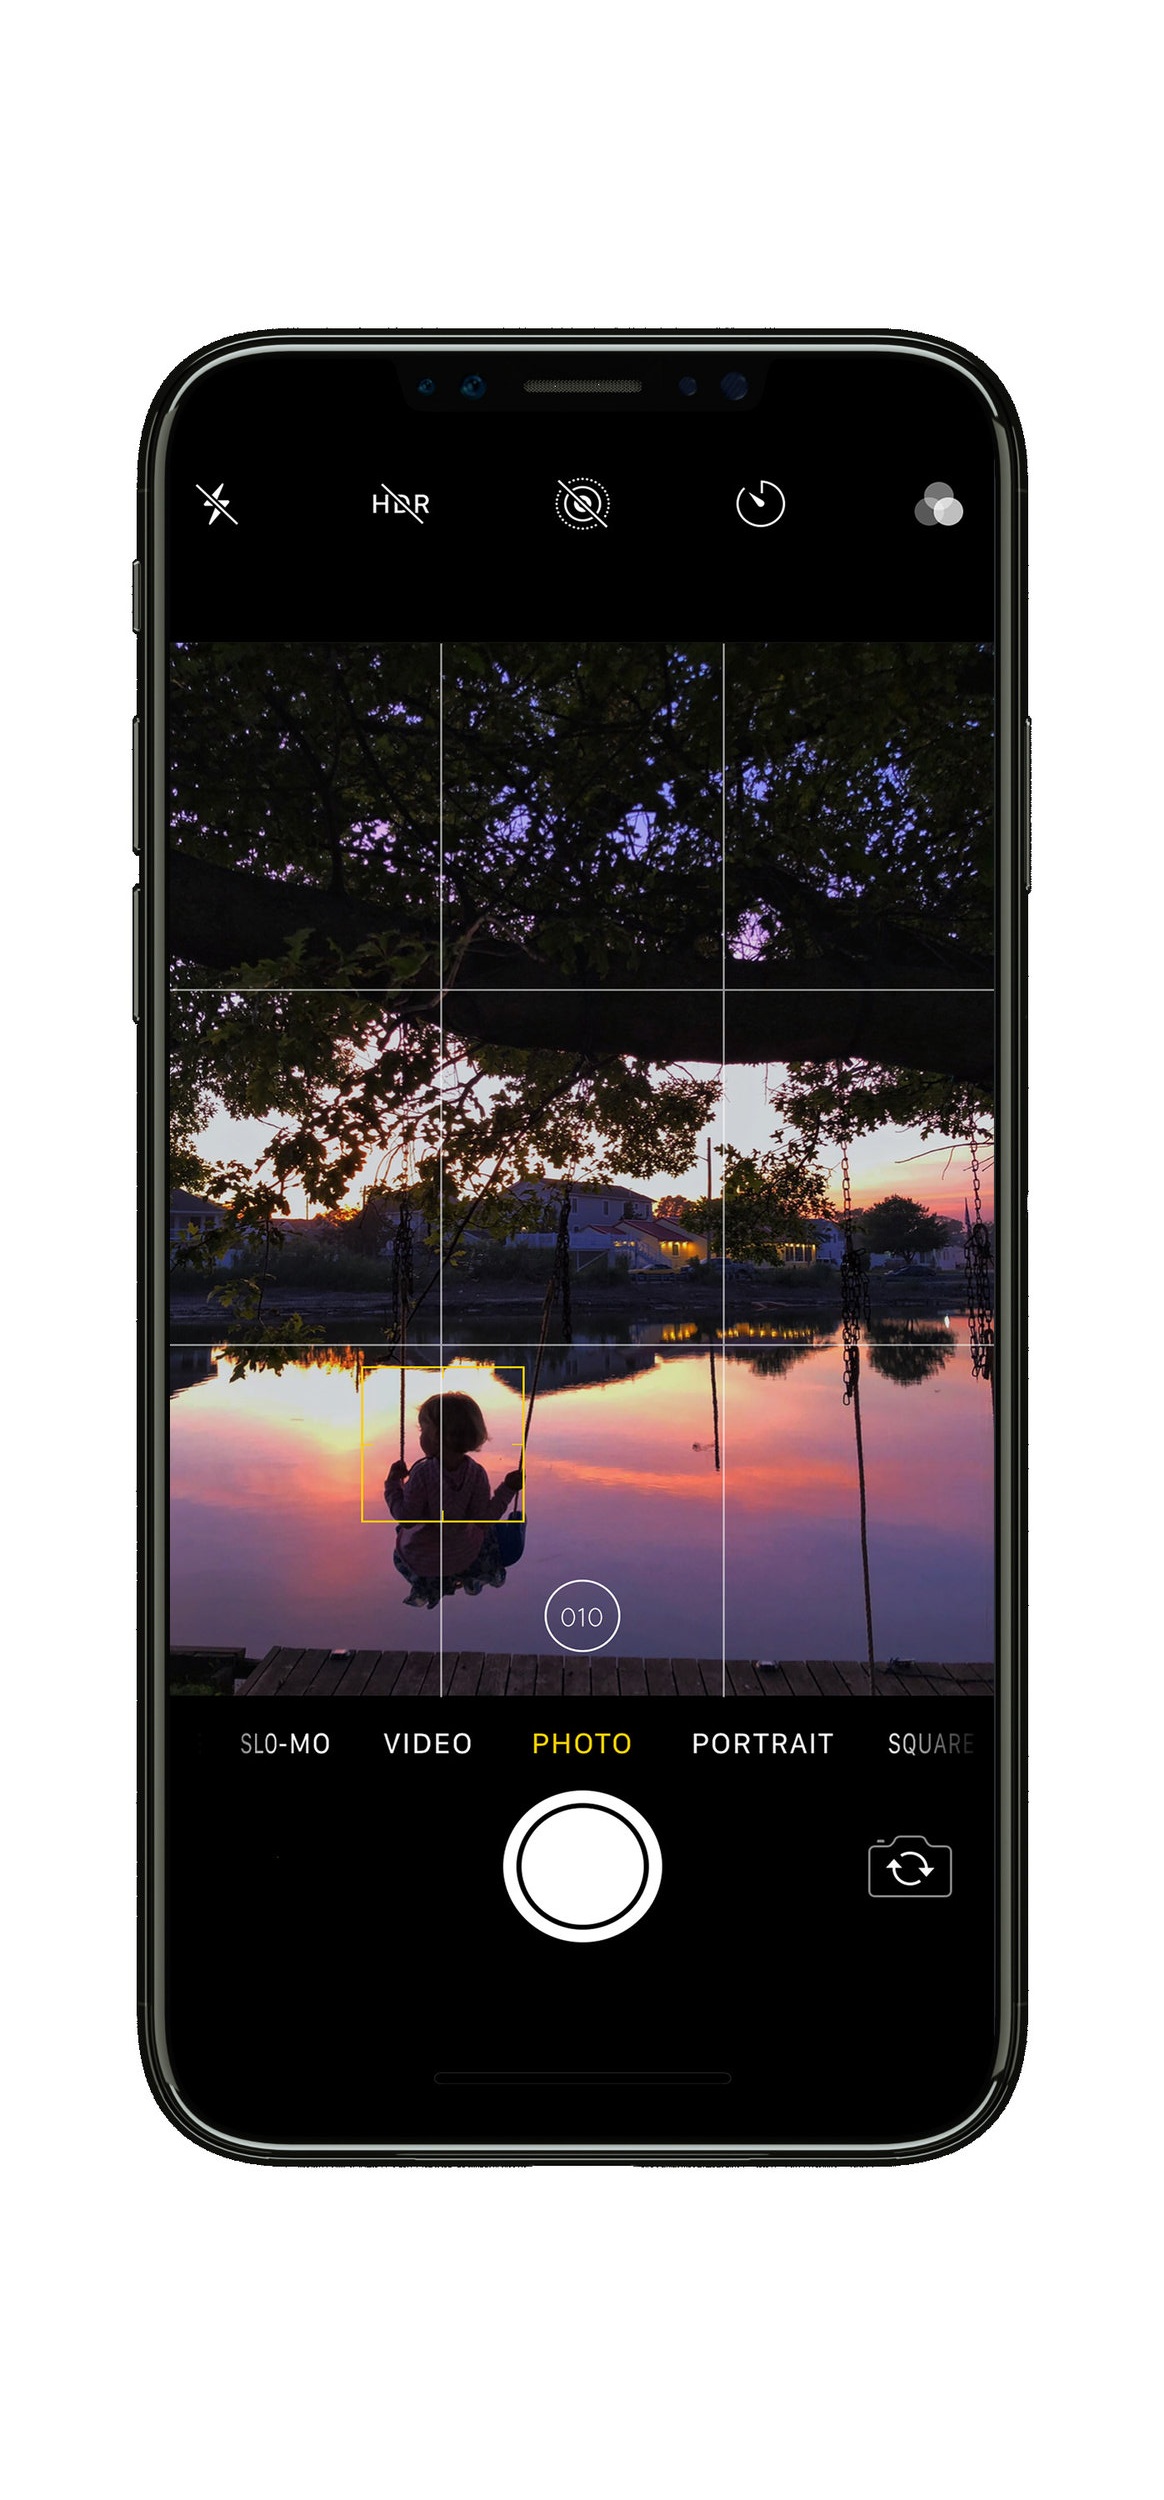
Tell your camera who the subject is
Tap the screen to focus
Whether you are taking a photo in dim lighting, a close up (macro photo) of something, or there are multiple subjects in your frame and you want to focus on a particular subject, tap away! Your iPhone already does a pretty great job predicting what should be in focus, but it’s not human. Tell your phone what you want it to focus on by tapping and creating that yellow square around your subject.

Make your photos brighter or darker before you take them
Adjust your exposure by dragging up or down
This is probably the most mind blowing tip for those that don’t know it yet. When I show this to people, I am instantly hailed a genius - thanks Apple! After you tap the phone to focus on where you want, a little sun pops up on one side of the yellow box. Take your finger and drag that up for lighter or down for darker. Voila! You are on your way to your iPhone photographic masterpiece.

Take multiple photos with the same settings
Hold your focus and exposure by holding down
If your phone keeps searching for different things to focus on, or the exposure keeps going from super bright to super dark, try this trick. Press the screen to where you’d like to focus, and hold your finger down until you see the yellow box enlarge. This means your focus is locked! You’ll see an AE/AF LOCK yellow notification pop up near the top when it’s activated. Wherever you move your phone, until you tap away and reset this, your phone will be focused to the distance of whatever you told it to lock on to. Then, take your finger and drag the sun symbol up or down to adjust the exposure. To exit this mode, tap anywhere and your phone will refocus and readjust the exposure. This one definitely takes some forethought and is super helpful when you need to take a few photos and keep the same settings.

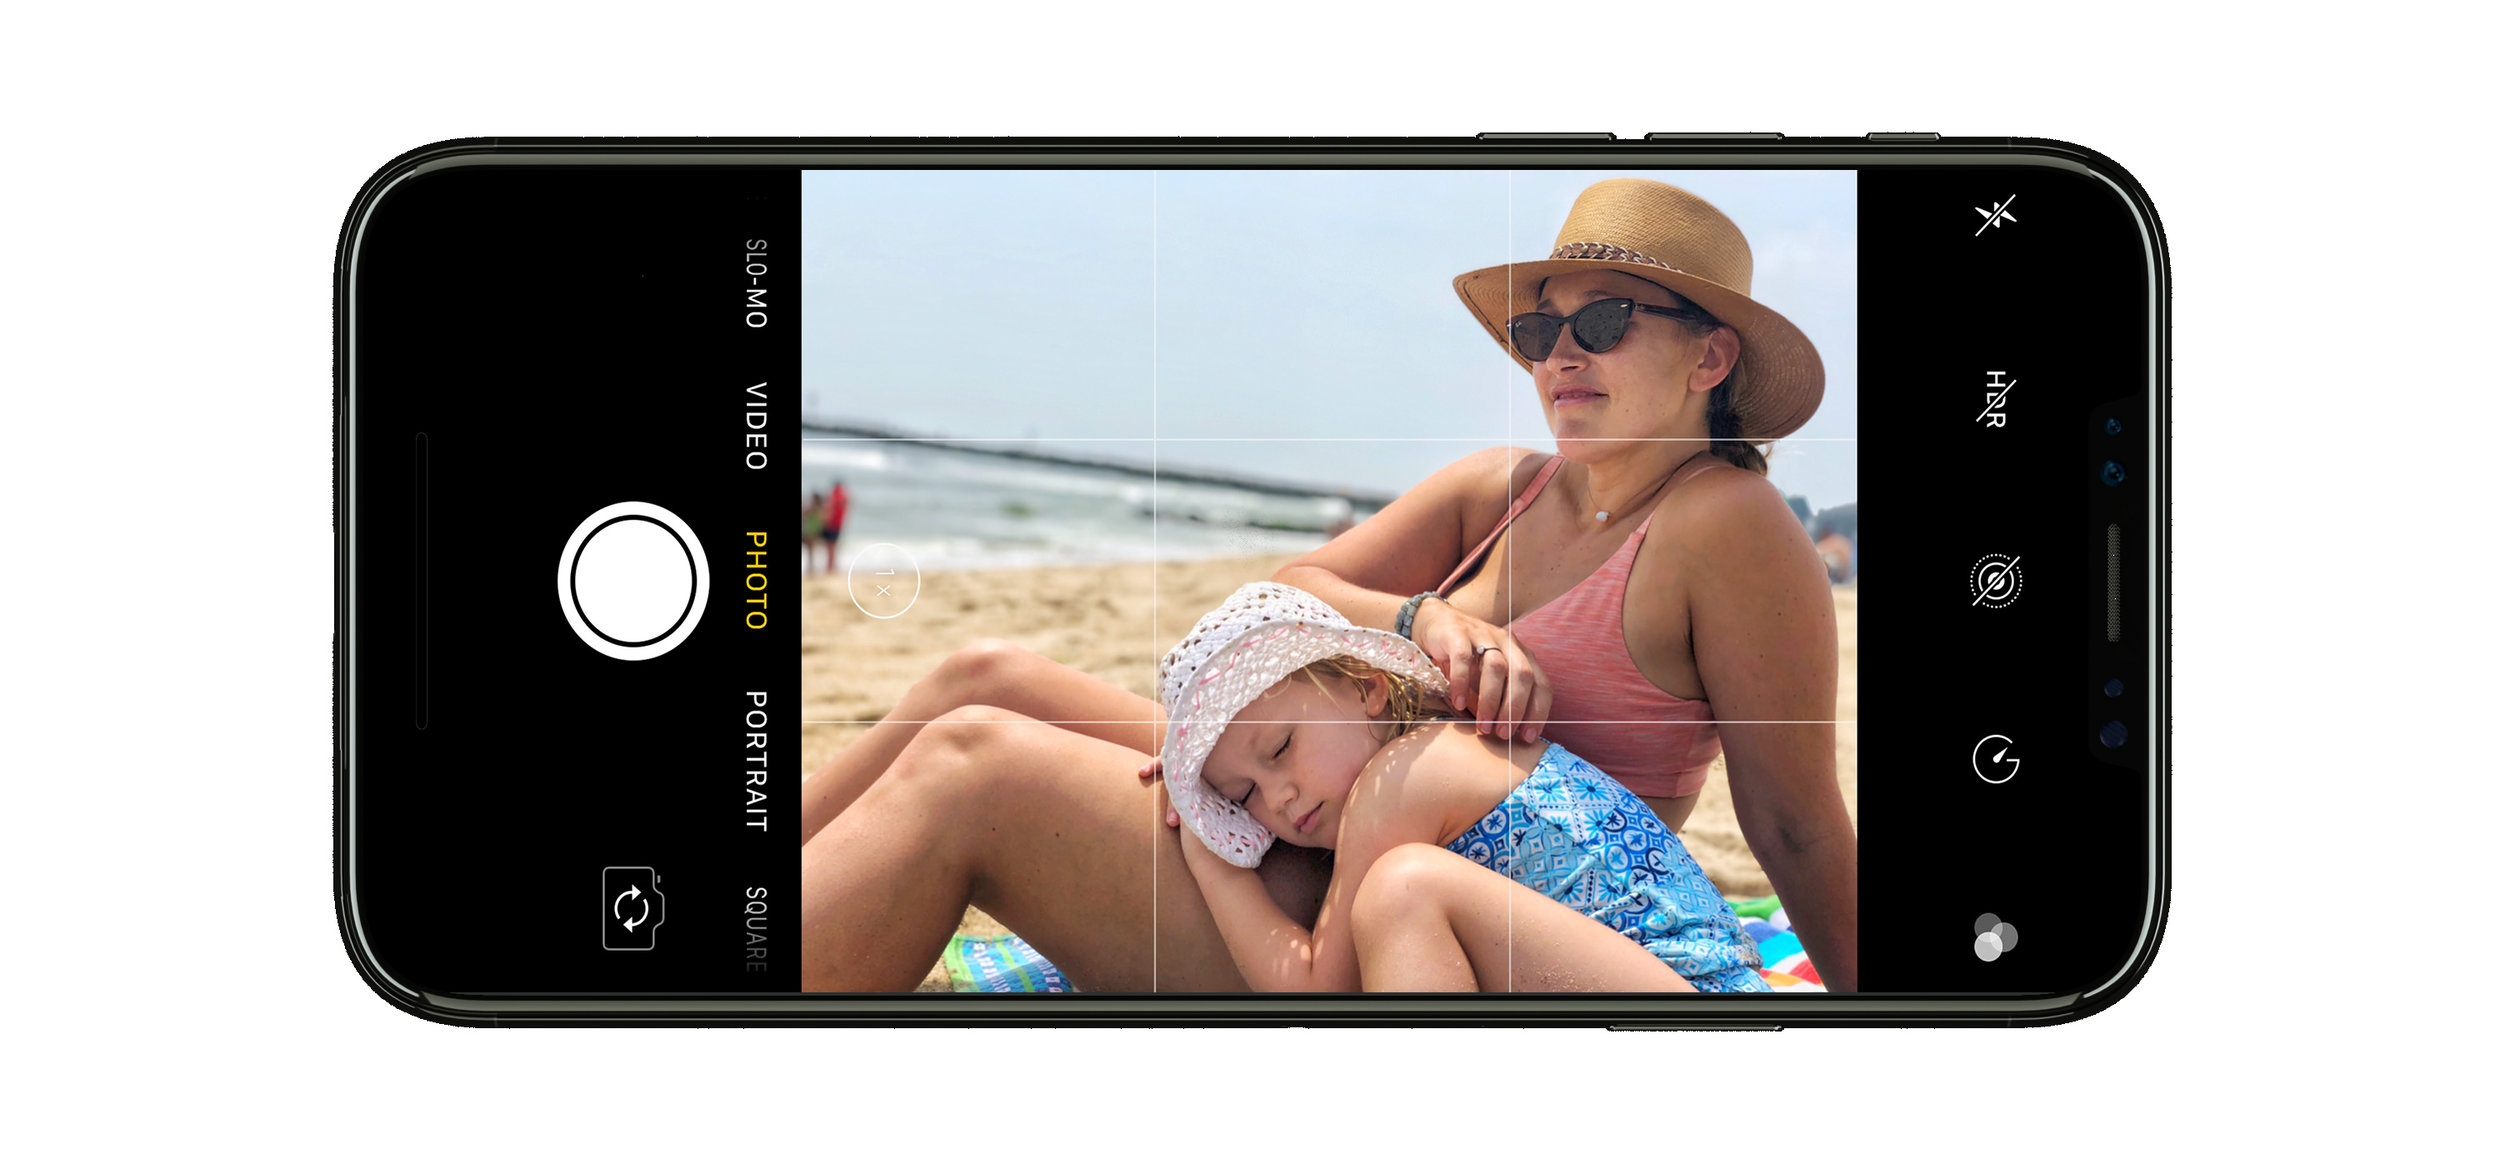
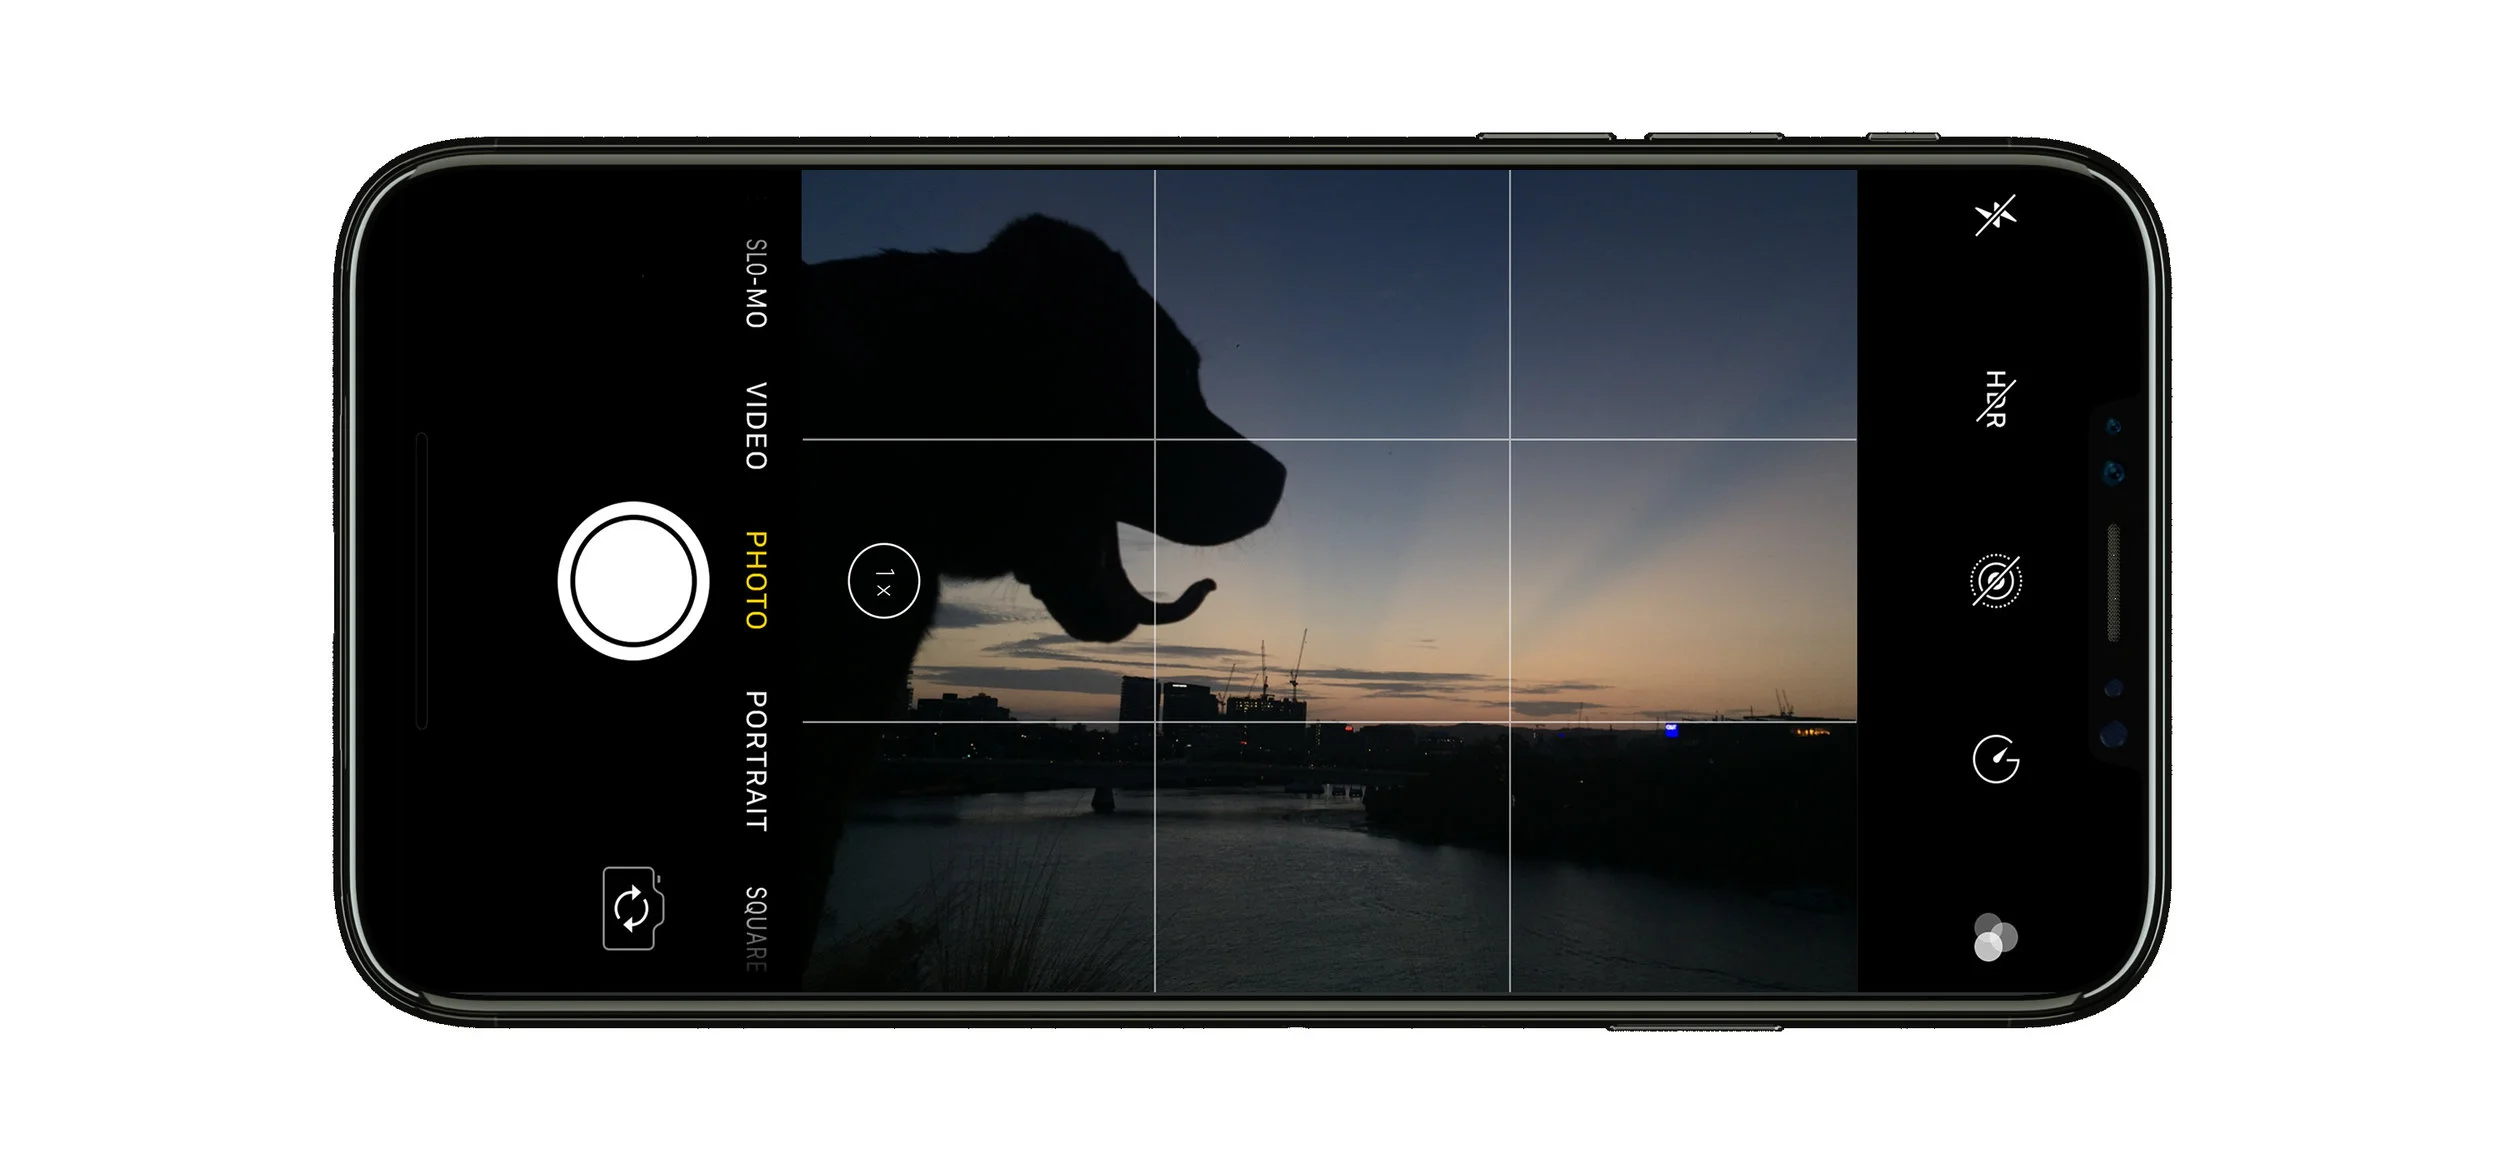
Line up with the rule of 3rds
Use the grid to improve your composition
In photography, the rule of thirds helps the composition and visual interest of any photo. Sometimes a photo of a landscape does look best with the horizon in the middle, or a portrait with the person smack bang in the middle, but most of the time adjusting your composition will help your photography quite a bit! Turn on your grid by going to settings > camera > and swipe the grid toggle to green. Now when you bring back up your camera, you’ll see 4 bars across your screen. Use these guides to compose your photos with more interest by lining up the important parts of your scene where the lines intersect, and lining up your horizons with the guides that separate your phone into thirds.

Add extra visual interest to your photos
Find the good light!
The quality of light can make or break your photo. I won’t get too technical on this, but the more interesting / flattering / beautiful the light is in your scene, the better your photo will be. There are so many different types of light, and as photographers that’s how we see things. Look for bright and dark, contrast, and the way light shapes shadows or creates an interesting element in your photo. The more you play with the light, the further your photos step away from ordinary.

Go from blurry to crispy
Clean your lens
This might seem obvious, but it’s so easy for a ton of crap to build up on our phone’s camera lens. Take a microfiber cloth, or let’s be realistic - use your shirt and give it a polish. Your photos will go from blurry and foggy to crisp and clear!

Take a ton, pick the best one
Use burst mode
Digital storage is cheap! Take a bunch of photos when action is happening by holding down the photo button. That will activate burst mode and then you should go back and select the best photo. But don’t forget that second step, as the photos can add up over time and take up unnecessary space on your phone.
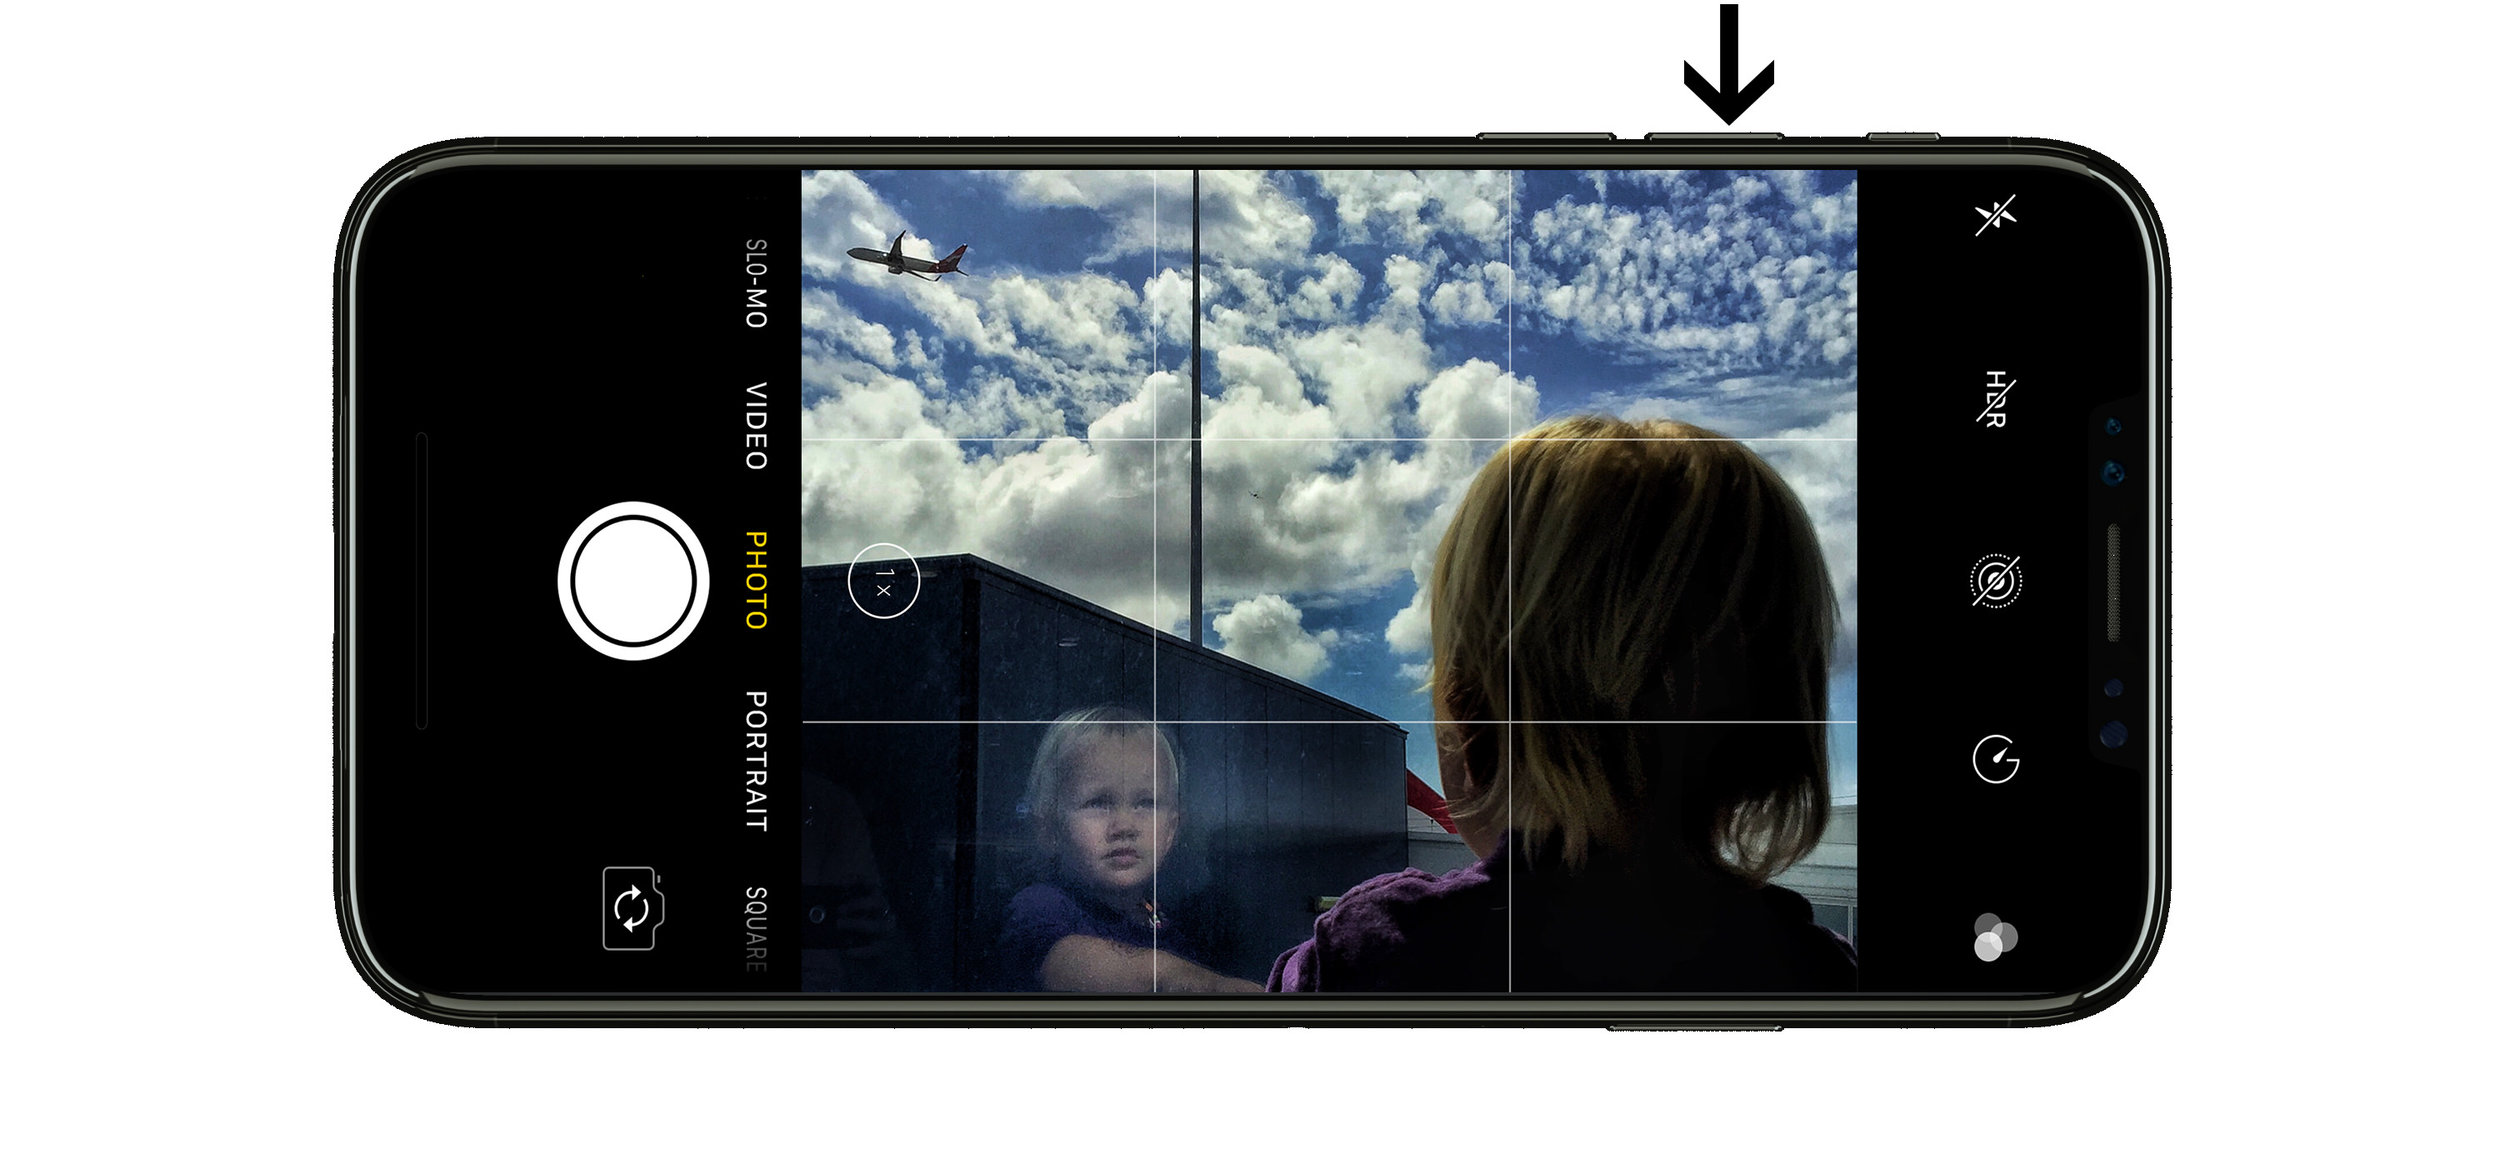
Avoid shaky photos
Use the volume buttons to take a photo instead of the button on screen
This is a great trick if you have shaky hands, or it’s night time and you’re taking a photo that requires you to be super still. The volume buttons do the same thing that the big white button on your screen does. Push it down to make your camera take a photo and avoid a shaky photo.
Make your subject stand out from the background
Use Portrait Mode
This is that blurry background thing!! Known as bokeh (pronounced BOH-kay) in the photography world, this is what makes your subject stand out from the background by blurring the background out! It’s amazing that a computer algorithm does a decent job at replicating what multiple thousand dollar lenses do. Use portrait mode to draw attention to the person or people in your photo and away from a distracting background!
Get creative
Utilize the versatility of a big screen
It’s so awesome to be able to see exactly what your photo is going to look like before you take it! Play around with different compositions, angles and exposures to make your photos interesting. Look for reflections, light, leading lines, anything that adds to your photo. The more you practice looking for something different, the more naturally it will come to you.

Edit your photos like the pros
Download Google Snapseed
Editing is a big part of photography, and it isn’t just for professionals. The photos on your phone could use a little love too. I’m not talking about overly processed filters, I’m talking about adjusting your photos by a little bit to make a big impact!

Back up your precious memories
Get Google Photos
We live in the age of cloud storage, so use it! The amount of times I’ve heard horror stories of people losing a phone and all the photos with it gives me a lump in my throat. They are precious memories on your phone, so treat them with respect! There is a free and a paid option of Google Photos, so you’ve got no excuses. Get to backing up!

That’s it folks!
I hope you were able to find a few useful tips in there. I’d love to hear your favorite one and see how you applied it!
Happy snapping.